Are you planning a road trip and wondering how to keep your delicious frozen meals and snacks fresh and safe to eat throughout your journey? Whether you’re a seasoned road-tripper or a first-timer, this guide will equip you with all the knowledge and tips you need to ensure your frozen food stays perfectly frozen until you reach your destination.
Packing for Different Foods
Not all frozen food is created equal! Here’s a quick guide on how to pack different types of frozen food for optimal preservation:
- Meat & Poultry: Place these at the bottom of your cooler surrounded by ice packs. For extra security, consider double wrapping them in freezer paper or butcher paper.
- Fish & Seafood: Similar to meat, keep them at the cooler’s base encased in ice packs. Pre-portioning fish into individual serving sizes can help prevent spoilage if thawing occurs.
- Vegetables: Pack vegetables towards the top of the cooler. Blanching vegetables before freezing can help retain their freshness and nutrients.
Choosing and Maintaining Your Cooler
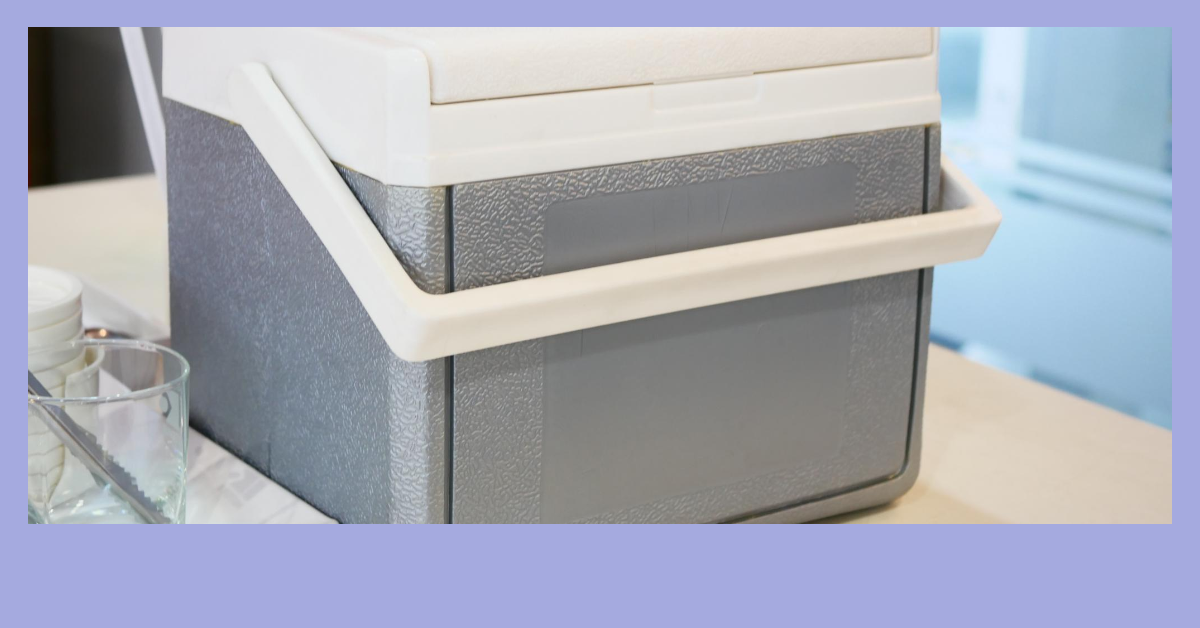
- Cooler Selection: Invest in a high-quality cooler with thick, insulated walls. Look for coolers with a high R-value rating, indicating better insulation efficiency. Roto-moulded coolers are known for their superior ice retention. Consider the size of your cooler based on your trip duration and the amount of food you need to store. Here’s a table to help you estimate the ideal cooler size based on your trip duration and the amount of food you plan to bring.
| Cooler Capacity (Litres) | Cooler Capacity (Quarts) | Trip Duration |
|---|---|---|
| Up to 20 | Up to 5 | Day trip or short weekend getaway |
| 20 – 40 | 5 – 10 | Weekend trip with moderate food needs |
| 40 – 60 | 10 – 15 | Extended weekend trip or longer journeys with more food |
| 60+ | 15+ | Multi-day trips with a substantial amount of frozen food |
- Cooler Maintenance: Keeping your cooler clean and well-maintained is vital. Wash your cooler with warm soapy water after each trip and allow it to dry completely before storing it. To prevent lingering odours or mould growth, consider adding a sprinkle of baking soda to the interior after it dries completely.
Cooler Organisation Hacks

Maximise your cooler’s efficiency and prevent food from getting crushed during your journey with these clever organisation hacks:
- Cardboard Dividers: Use sturdy cardboard cut to fit the dimensions of your cooler to create compartments. This helps segregate different food items and prevents them from shifting around.
- Container Power: Repurpose plastic storage containers with tight-fitting lids to organise smaller frozen food items or snacks. This not only keeps things tidy but also prevents leaks and potential contamination within the cooler.
- Label Everything: Labelling your containers with the contents and date can be a lifesaver, especially on extended trips. It helps you identify items easily and avoid unnecessary cooler rummaging.
How to Pack for Success
- Pre-Chilling is Key: Give your cooler a head start by pre-chilling it with ice or frozen gel packs for at least 30 minutes before packing your food. This lowers the internal temperature and helps maintain overall coldness.
- The Ice Factor: Pack plenty of ice or frozen gel packs around your frozen food, filling any gaps to minimise air space. Consider layering ice packs throughout the cooler for even cooling.
- Dry Ice for Extended Journeys: For trips exceeding 24 hours, dry ice can be a powerful option. However, use caution! Dry ice is extremely cold (-78°C) and can cause freezer burn. Ensure proper ventilation to avoid carbon dioxide build-up in your car. Refer to safety guidelines for handling dry ice.
- Frozen Food Tetris: Pack strategically! Place the coldest items (like frozen meat) at the bottom surrounded by ice packs. Lighter items or those intended to thaw can go on top. Pre-freeze your food for maximum coldness before packing.
- Food Prep & Packaging: Wrapping individual frozen food items in foil or freezer paper provides additional insulation. Consider using leak-proof containers to prevent spills and potential contamination within the cooler.
Hitting the Road
- Minimise Cooler Openings: Resist the urge to peek into your cooler constantly! Every time you open it, cold air escapes, accelerating ice melting. Plan your cooler access strategically.
- Cooler Placement: Keep your cooler out of direct sunlight during your trip. The hotter the cooler gets, the faster the ice will melt. If possible, position it in the car’s coolest spot, like the trunk or cargo area.
- Planning Your Route: When possible, plan your route to minimise stops, especially extended ones. The less time your food spends at higher temperatures, the better.
Uh Oh! What if the Ice Melts?
Even the best-laid plans can go awry. If you notice your ice melting prematurely, don’t panic! Here’s what to do:
- Assess the Situation: Check the temperature of your food with a food thermometer. If the food is still below 4°C (40°F), it’s likely still safe to consume.
- Prioritize Consumption: If some food has thawed partially, prioritise consuming those items first.
- Repacking on the Go: If possible, find a safe place to restock your cooler with fresh ice. Repack the cooler following the same principles to minimise temperature fluctuation.
Bonus Tip: Alternative Cooling Solutions
For shorter road trips, consider alternative cooling solutions like insulated lunch bags with ice packs. These can be a viable option for keeping smaller quantities of frozen food cold for a limited time.
Keeping Your Drinks Chilled on the Go
Who says you can’t enjoy refreshing frozen drinks on your road trip? Here are a couple of ideas:
- Pre-Frozen Juice Packs: Pre-freeze containers of your favourite juice or fruit puree. As they thaw, they’ll transform into a delicious and healthy slush.
- Frozen Cocktail Prep: For adults, pre-measure your favourite cocktail ingredients (minus the non-alcoholic mixers) and freeze them in individual containers or silicone freezer pouches. When ready to indulge, simply combine the frozen concoction with your preferred mixer (juice, soda, etc.) for a perfectly chilled drink.
Frequently Asked Questions (FAQ)
Q: Can I refreeze partially thawed food?
A: In some cases, yes. If the food has only thawed slightly and remained below 4°C (40°F) for a short period, it can be refrozen safely. However, refreezing can affect the food’s quality and texture. It’s always best to err on the side of caution and consume thawed items first.
Q: What should I do with spoiled food?
A: Unfortunately, spoiled food can pose a health risk. Discard any food that has developed an off odour, discolouration, or slimy texture. When in doubt, throw it out!
Q: How long will my frozen food stay safe in a cooler?
A: This depends on several factors, including the cooler’s quality, ice quantity, and outside temperature. A high-quality cooler packed with plenty of ice can generally keep food frozen for 24 to 48 hours. However, it’s always best to consult a safe food handling guide for specific recommendations based on your situation.
At Wine Fridge Hub, we are committed to providing you with the most up-to-date and reliable information on food safety. We’re partnering with leading food safety organisations to develop informative resources and content. Keep an eye out for our upcoming blog posts featuring expert insights and downloadable safe food-handling checklists for your travels!
