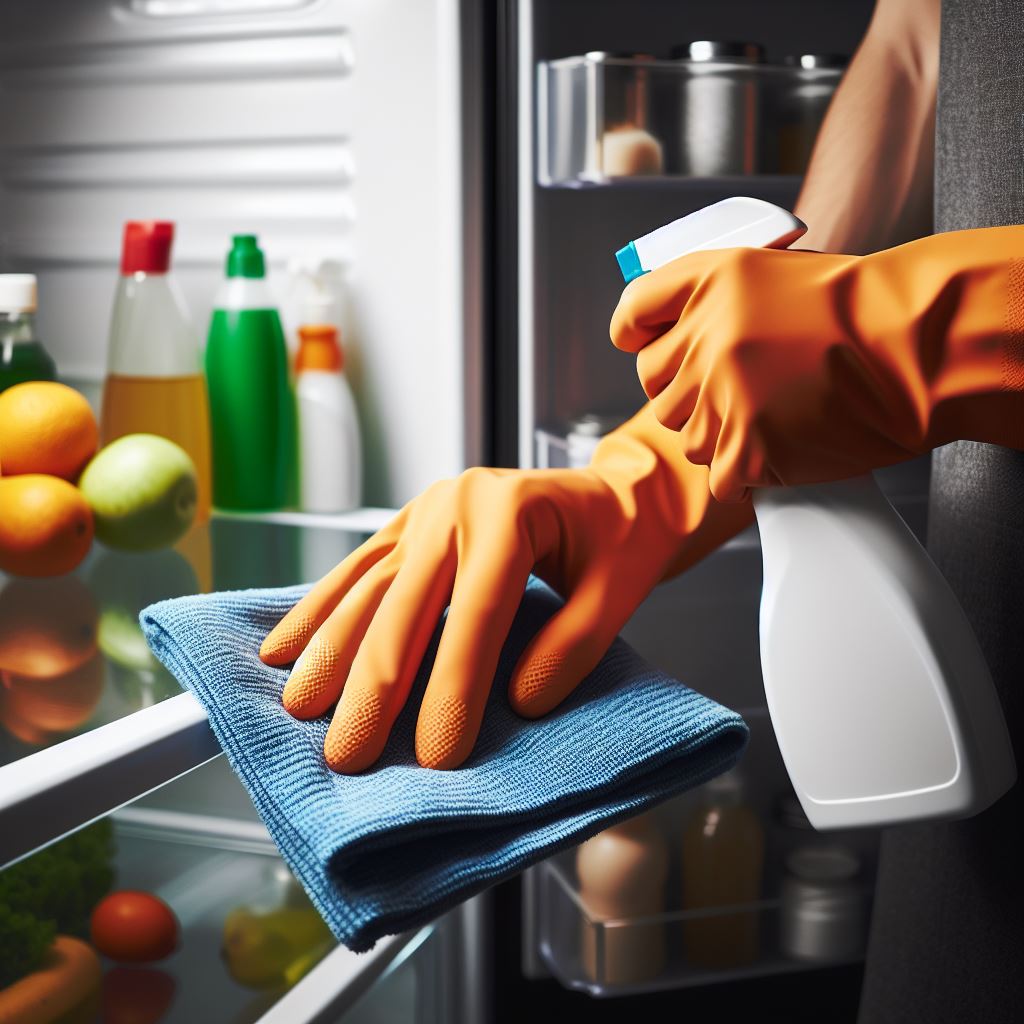
Let's face it, fridge odours can develop in any type of fridge, from large freestanding kitchen fridges to compact mini fridges. But don't worry! Here at Wine Fridge Hub, we're passionate about all things fridge, and that includes helping you banish those funky odours and get your fridge sparkling clean.
This guide will equip you with everything you need to tackle that fridge funk, leaving it smelling fresher than a spring meadow (almost!).

Before You Begin: Safety First!
Safety is paramount, so before getting started, make sure to:
- Unplug your fridge: This cuts the power and prevents the motor from running unnecessarily while you clean.
- Clear the fridge: Remove all food items and place them in a cooler with ice packs to maintain safe temperatures. This also gives you a clear workspace!
- Dispose of Spoiled Food: Be ruthless! Toss any expired items or anything emitting a questionable aroma.
Your Cleaning Tools
Now that safety is assured, let's gather your cleaning troops! Here's what you'll need:
- Warm water and dish soap: A classic combo for tackling everyday grime.
- Baking soda: This natural powerhouse deodorizes and tackles stubborn stains. Mix it with a little water to form a paste for extra oomph!
- White vinegar solution: Dilute white vinegar with water (one part vinegar to three parts water) for a disinfectant and deodorizer duo.
- Commercial fridge cleaner (optional): For particularly tough odours, consider a commercial fridge cleaner. Remember to follow the manufacturer's instructions for dilution and application.
- Sponges and cloths: Microfiber cloths are ideal for a streak-free finish.
- Rubber gloves (optional): Protect your hands, especially if using strong cleaning solutions.
The Cleaning Process
With your cleaning crew assembled, let's tackle that fridge funk head-on!

- Scrub-a-Dub-Dub, Shelves and Drawers: Wash shelves, drawers, and containers with your chosen cleaning solution. Pay close attention to areas where spills might have occurred, like crevices and corners.
- Taming Tough Stains: For stubborn grime, apply the baking soda paste, scrub gently, and then rinse thoroughly. Remember, baking soda is a gentle giant, so don't be afraid to scrub a little!
- Wiping Down the Interior: Armed with your cleaning solution, wipe down all interior surfaces, including door compartments and the rubber gasket (the seal around the door). This keeps the cold air in and nasty odours out!
- Don't Forget the Drip Pan: This unsung hero often traps spills and contributes to odours. Locate it (usually at the back near the bottom) and clean it thoroughly.
Odour Elimination
Even after a valiant cleaning effort, a faint whiff of the enemy might linger. Here's how to completely vanquish those odours:
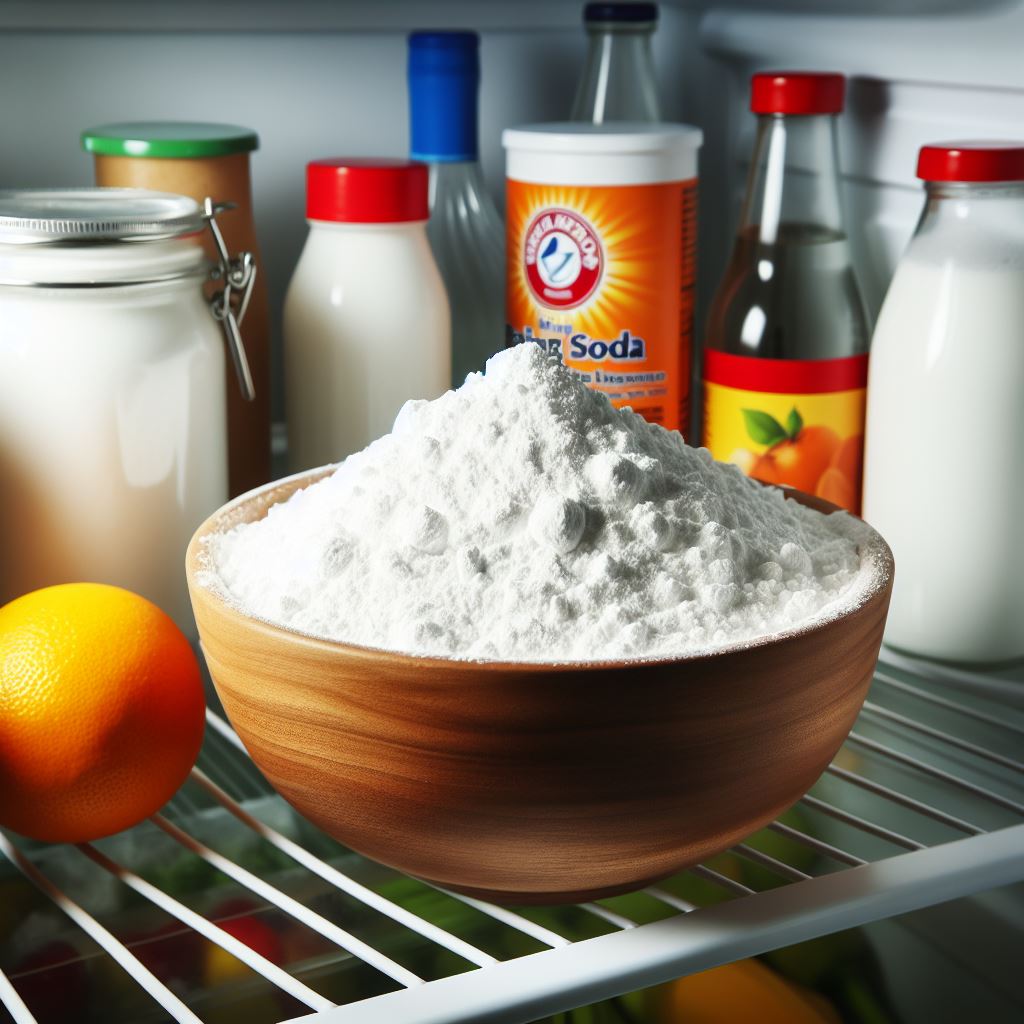
- Baking Soda Power: Place a bowl of baking soda in the fridge to absorb any remaining odours. Replace it every few days, especially if the smell was strong.

- Coffee Grounds to the Rescue: Used coffee grounds are another natural odour absorber. Put them in a bowl or a breathable container like a cheesecloth pouch.
- The Zesty Approach: The fresh scent of citrus fruits like lemons or oranges can help neutralize bad odours. However, these will need to be replaced more frequently than baking soda or coffee grounds.
Victory Lap and Fridge Maintenance Tips
Once everything is clean and dry, leave the fridge door open for a few hours to air it out completely. Here are some additional tips to keep your fridge a fresh and odour-free zone:
- Seal the Deal: Before turning the fridge back on, wipe down the door seal with a damp cloth to remove any debris that might prevent a proper seal. This keeps the cold air in and odours out!
- Food Storage Savvy: Store food in airtight containers to prevent spills and leaks that can cause future odours.
- Cleanliness is Key: Develop a regular cleaning routine. A quick wipe-down every week and a more thorough cleaning every month will keep your fridge sparkling fresh.
Quick Fixes for Mild Odours
Need a speedy solution for a mild fridge odour? We've got you covered!
- Baking Soda Blitz: Place a bowl of baking soda in the fridge for a quick odour refresh. This natural warrior absorbs odours like a champ, but remember to replace it every few days to keep it working its magic!
- Vinegar Power Play: For a quick disinfect and deodorize, grab a spray bottle and mix one part white vinegar with three parts water. Spritz it on surfaces (avoiding fresh produce) and wipe clean with a microfiber cloth. Don't forget the magic of ventilation! Leave the fridge door open for 30 minutes afterwards to let the fresh air in.
- Lemon Zest Zap: Feeling fancy? Slice a lemon or orange in half and place it on a saucer in the fridge. The citrusy scent will help neutralize mild odours. However, unlike our other fridge fresheners, lemons and oranges have a shorter lifespan, so plan to replace them every couple of days.
Dealing with Spills and Deep Cleaning Neglected Areas
While these quick fixes are fantastic for everyday odours, what happens when disaster strikes and a rogue carton explodes? Fear not! We've got you covered for those trickier situations too.

- Spill Solutions: Accidents happen! Here's how to tackle spills effectively:
- Act Fast: The sooner you clean up a spill, the easier it is to manage the odour.
- Contain the Mess: Grab a paper towel or cloth to contain the spill and prevent it from spreading.
- Tailored Cleaning: Depending on the type of spill (dairy, sticky sauces etc.), choose your cleaning solution. Warm water with dish soap is a good starting point.
- For Stubborn Spills: If the spill has dried or left a stain, consider using a baking soda paste to gently scrub the area. Rinse thoroughly afterwards.
- Disinfecting Power: For spills that might harbour bacteria (e.g., raw meat), disinfect the area with a diluted vinegar solution (one part vinegar to three parts water) after cleaning.
- Deep Cleaning Neglected Areas: Over time, neglected areas can harbour grime and contribute to odours. Here's how to tackle them:
- The Drip Pan: This unsung hero often takes the brunt of spills. Remove the drip pan (usually located at the back near the bottom) and clean it thoroughly with warm water and dish soap. For stubborn grime, consider soaking it beforehand.
- Behind the Fridge: Food crumbs and dust bunnies can lurk behind your fridge. Pull it out gently (be mindful of any electrical cords) and vacuum the area. You can also wipe down the back with a damp cloth.
- Door Seals: Dirty door seals can prevent a proper closure, leading to odours and inefficient cooling. Wipe down the door seals with a damp cloth to remove any debris.
Remember: When dealing with spills or deep cleaning, always unplug your fridge for safety!
By implementing these additional tips, you'll be well on your way to maintaining a sparkling clean and odour-free fridge!
Congratulations! You've successfully conquered the fridge funk! Now, you can enjoy a fridge that's not only clean but also free of unpleasant odours.